If you use the One-Click Theme Setup, then everything will be set for you. You can learn more about Kadence Theme Customize Settings by going to the documentation.
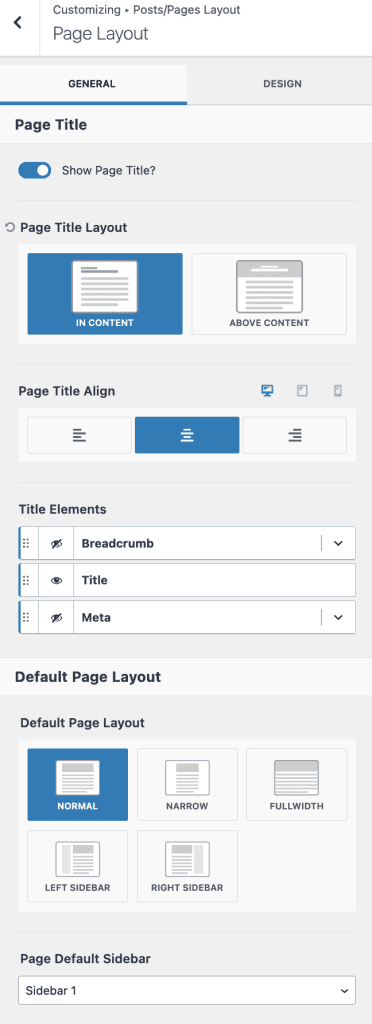
Go to Admin > Appearance > Customize > Posts/Pages Layout

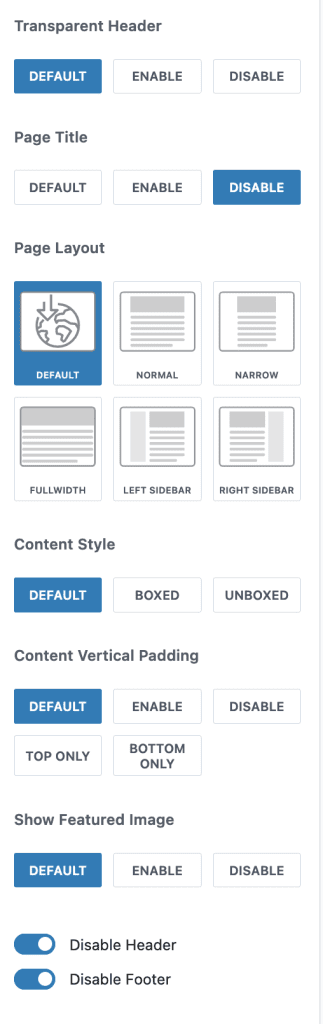
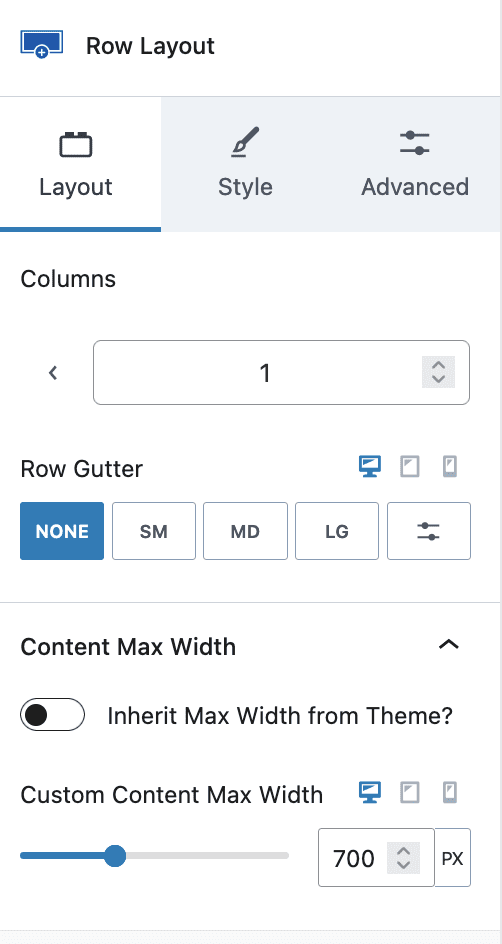
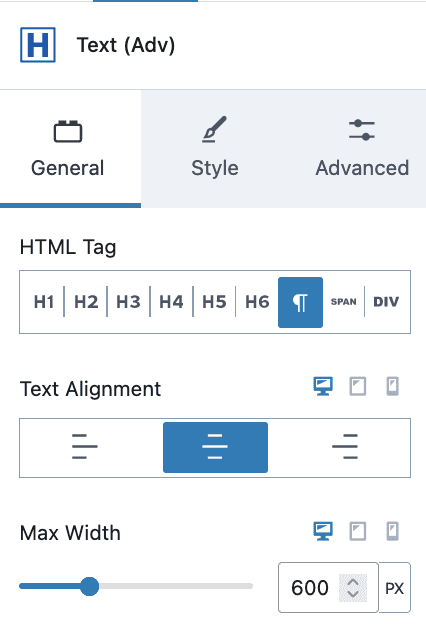
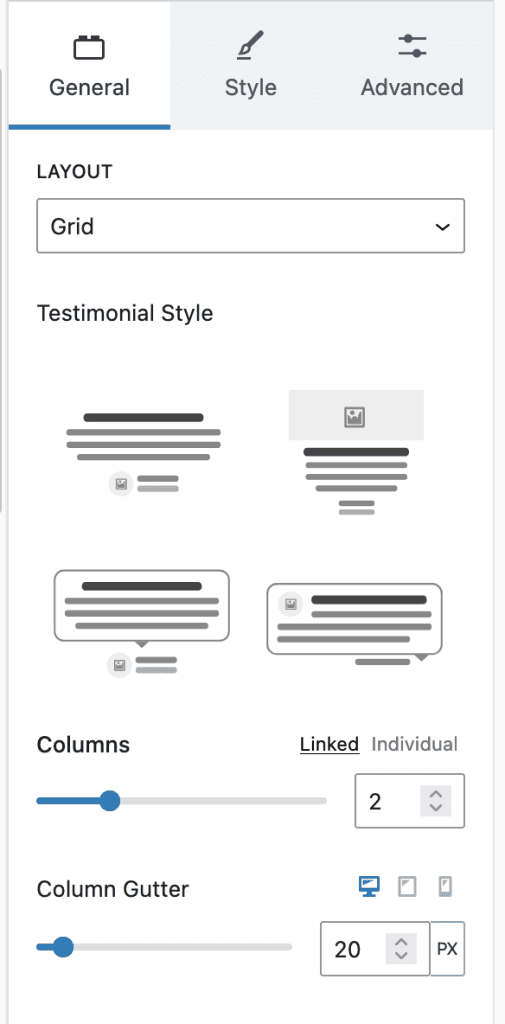
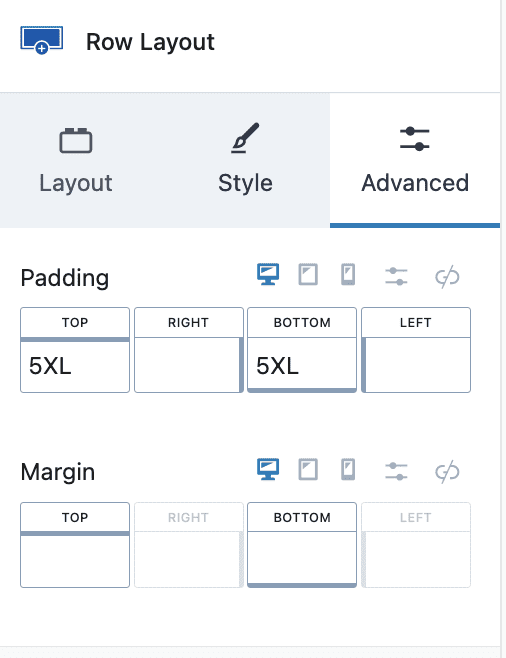
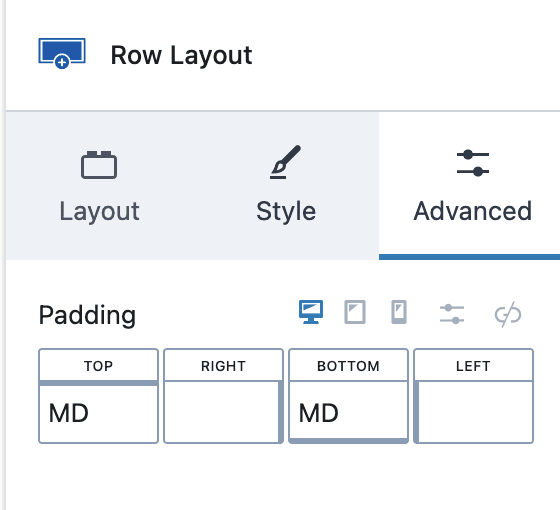
Page Layout
Set/Update necessary details for Page Layout
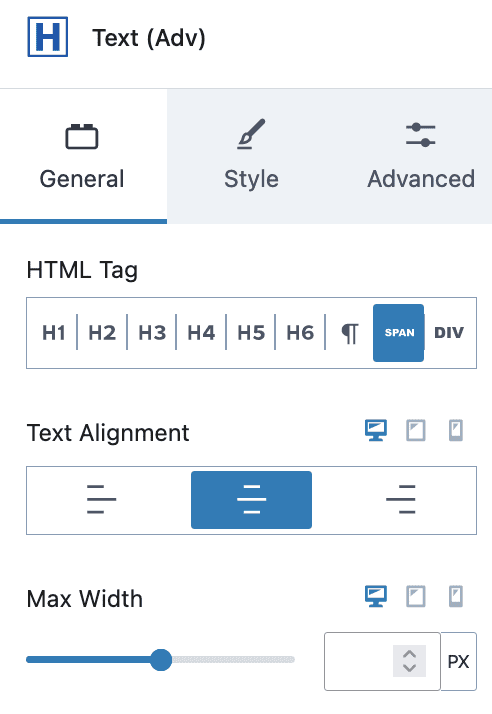
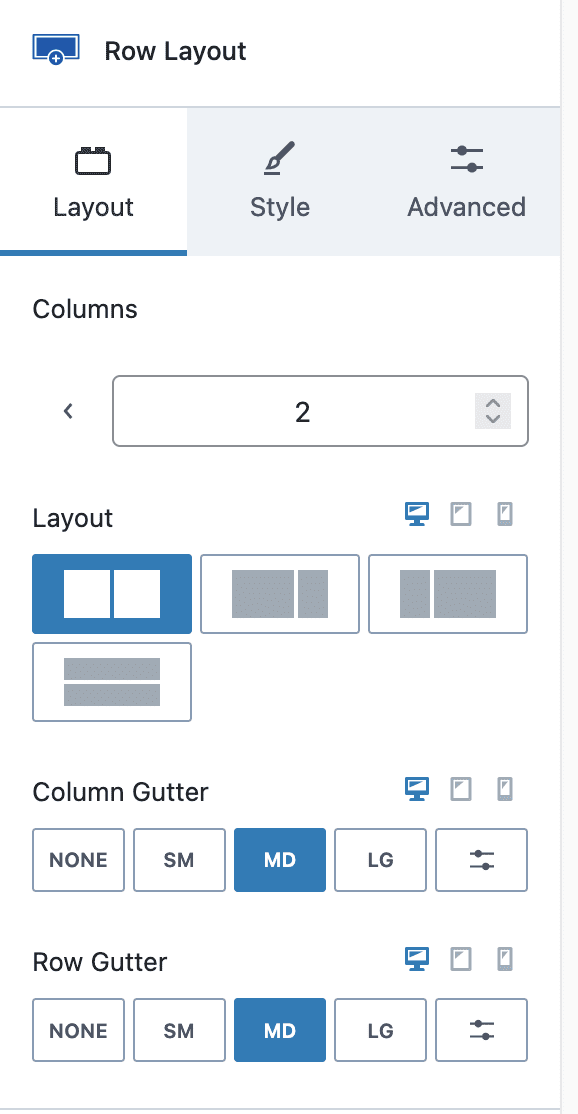
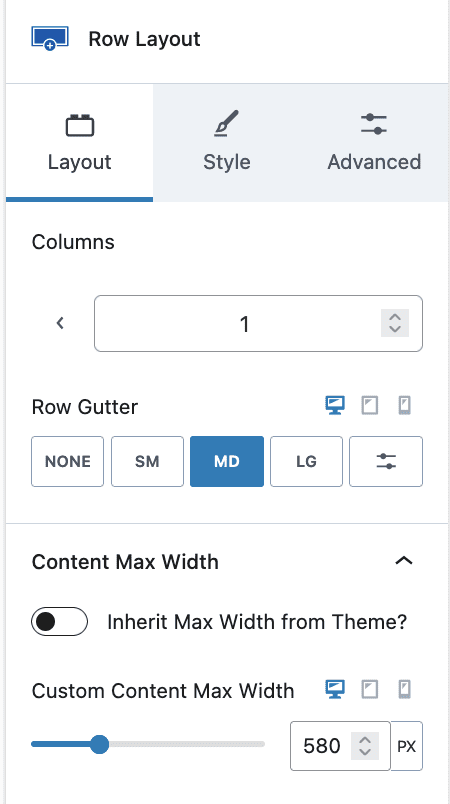
GENERAL SETTINGS: Show Page Title, Layout IN CONTENT, Title Align Center, Only Show Title (hide Breadcrumb and Meta), Page Layout Normal(taking the width of the theme without sidebar), Select Sidebar if Layout with Sidebar, etc…
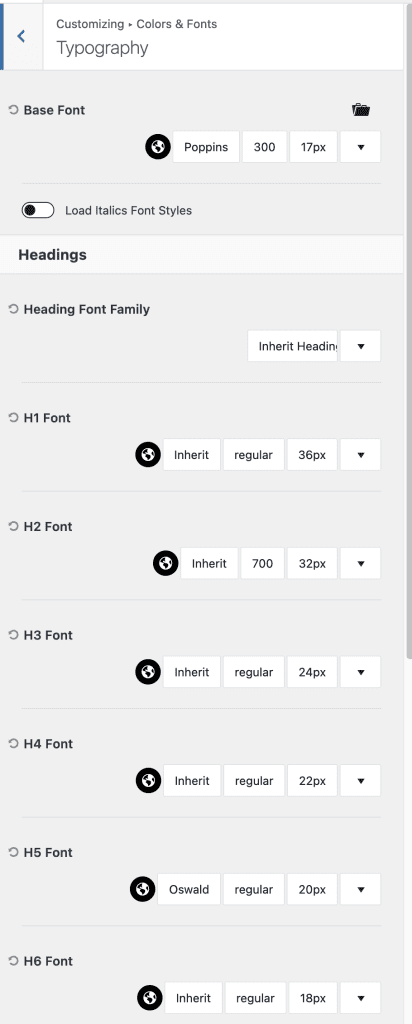
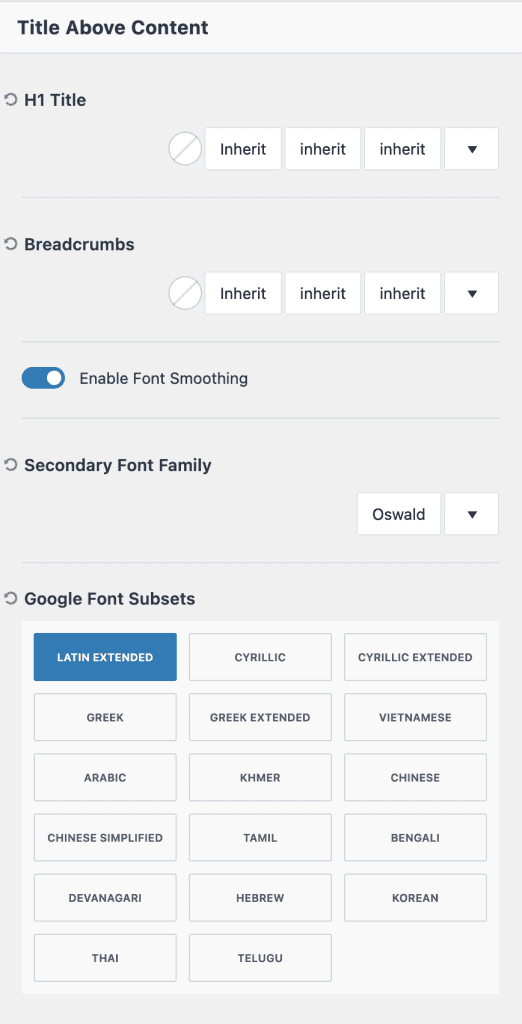
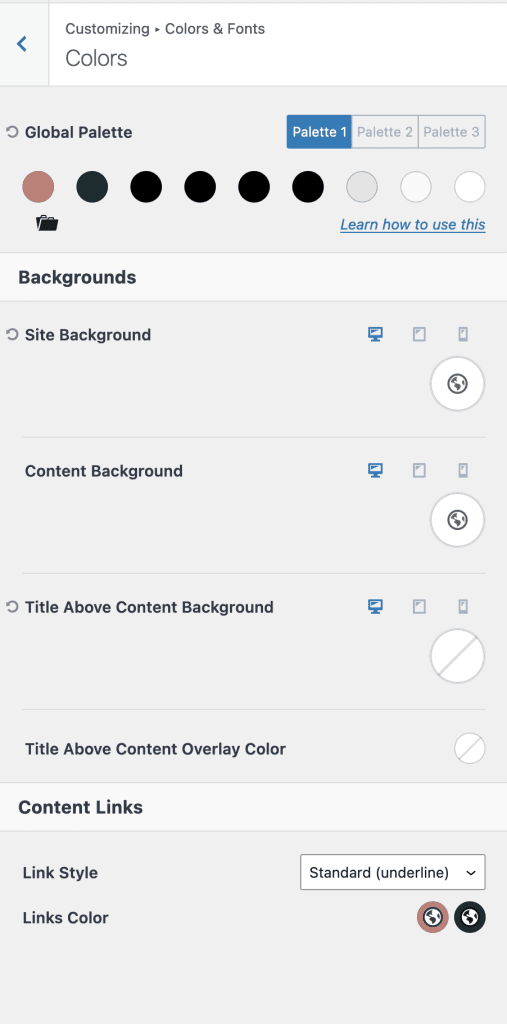
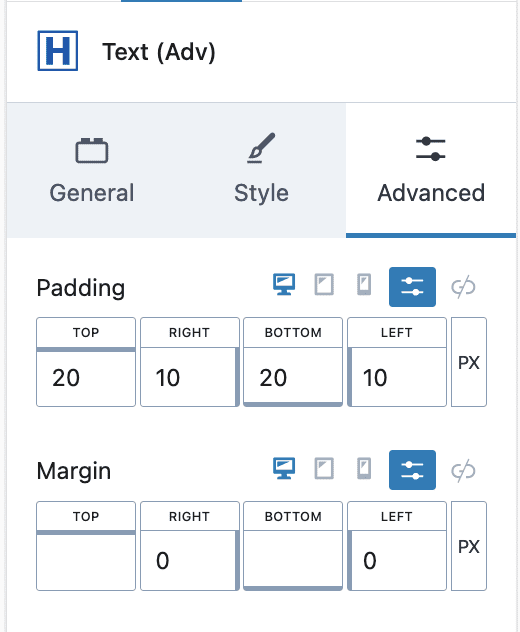
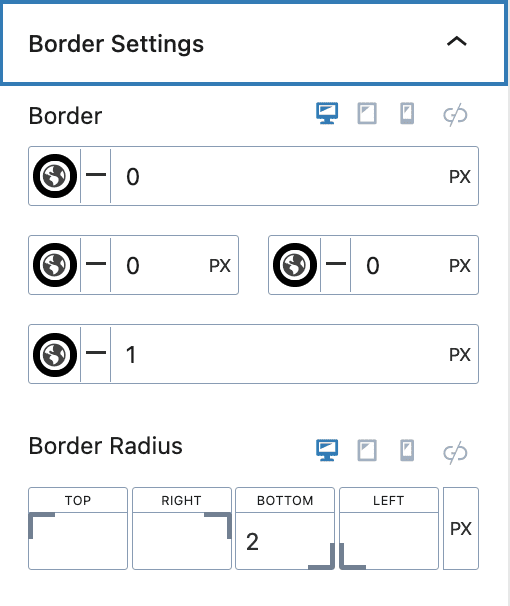
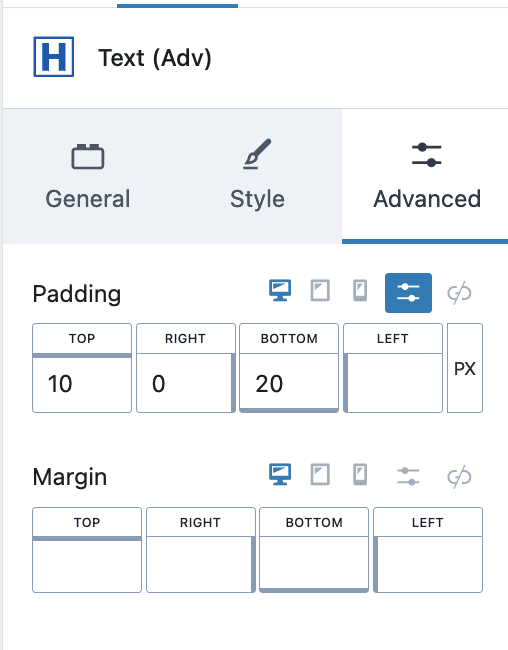
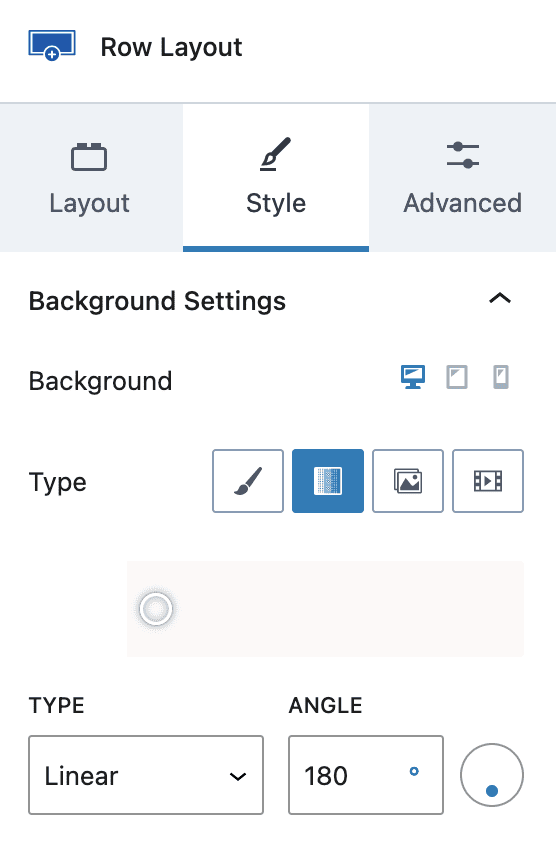
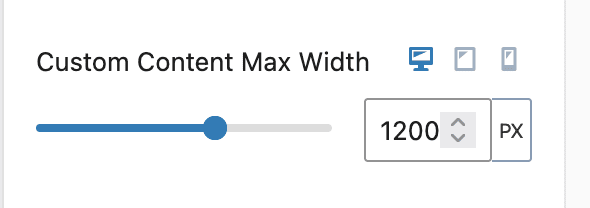
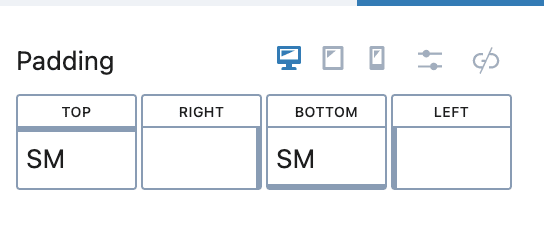
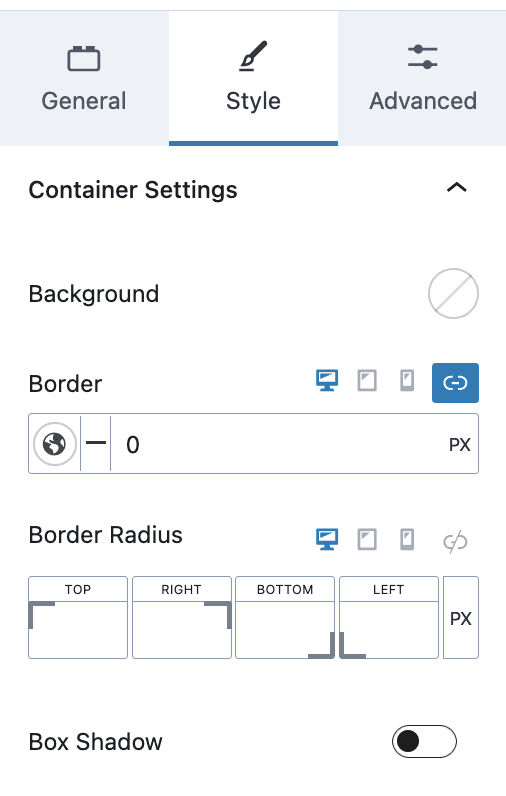
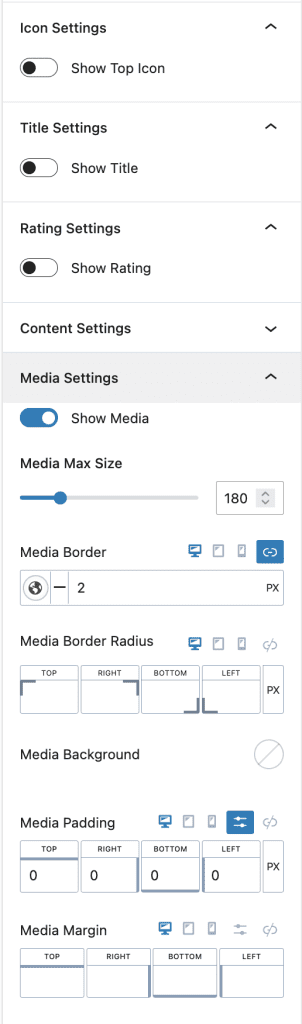
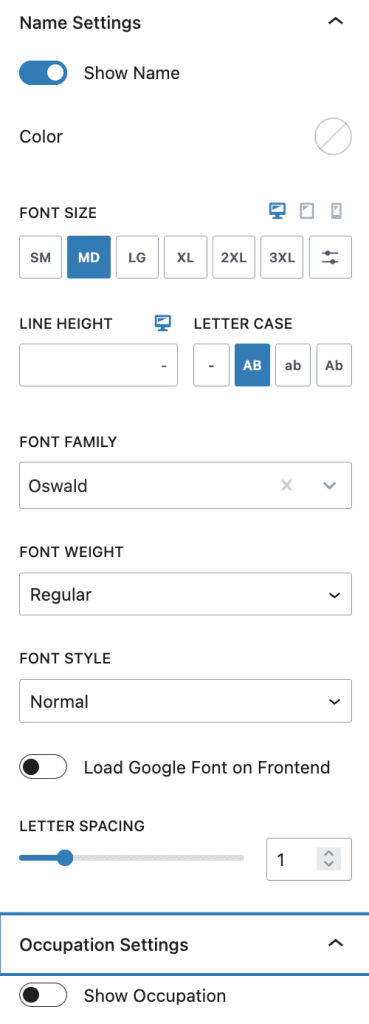
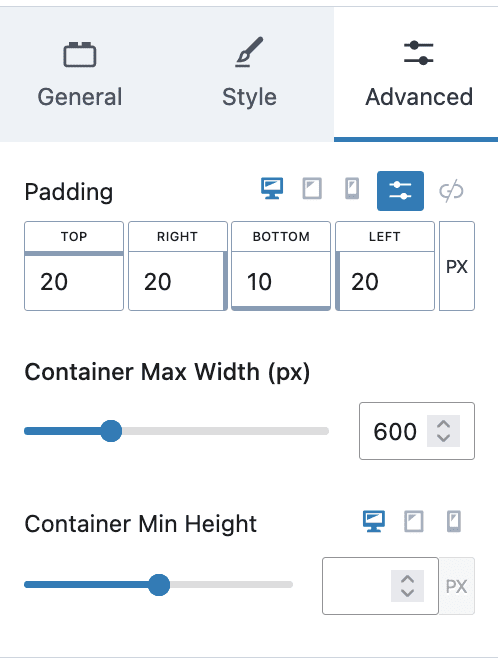
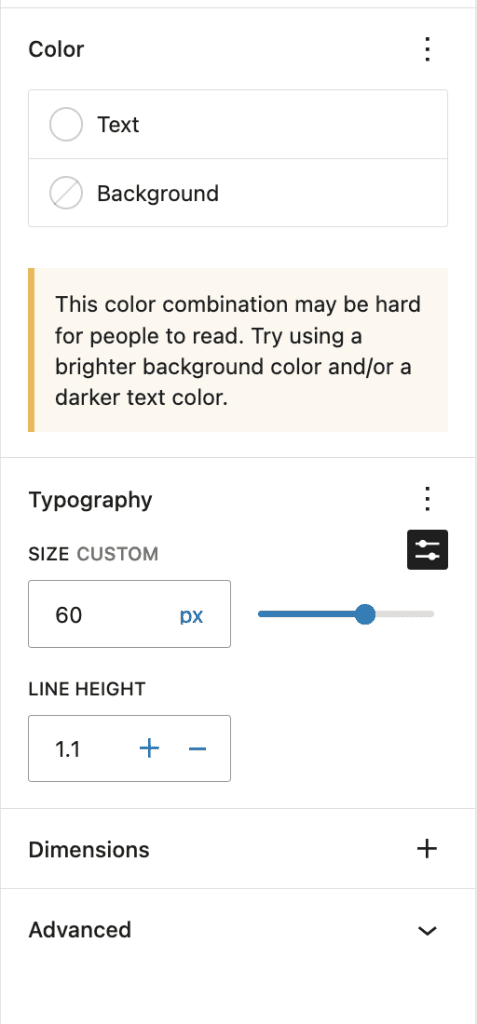
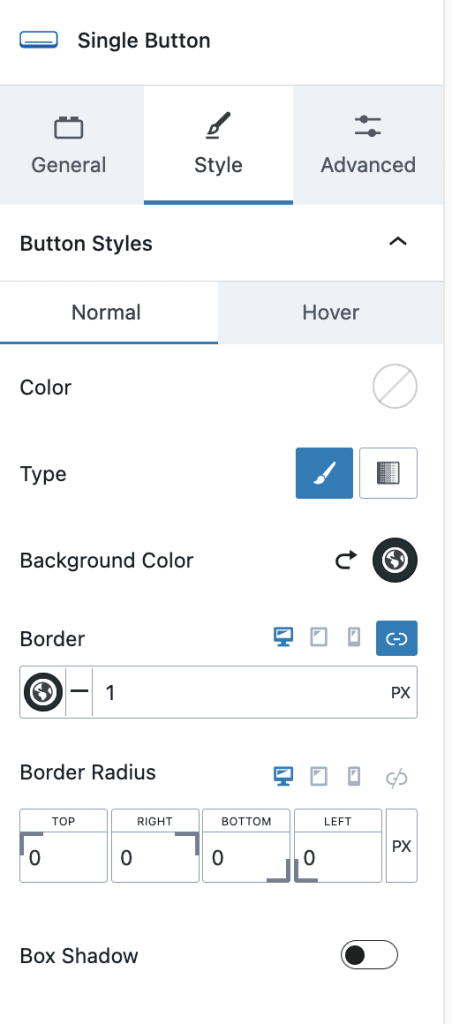
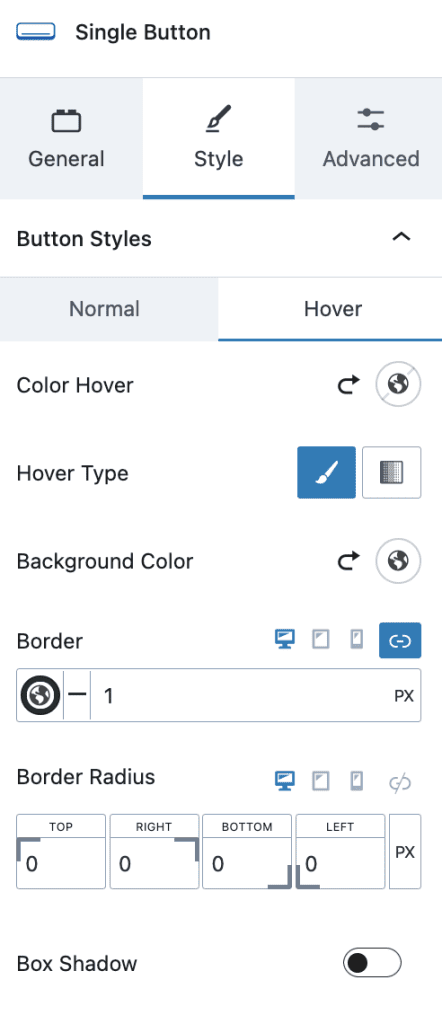
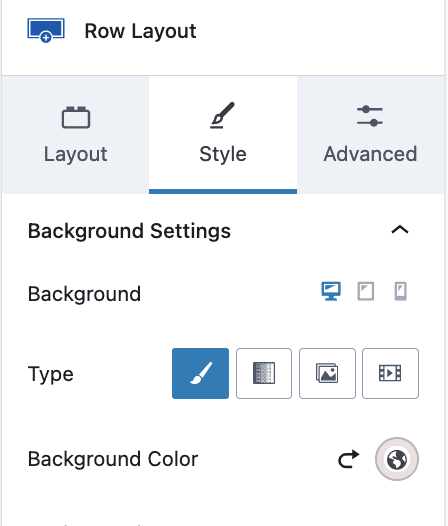
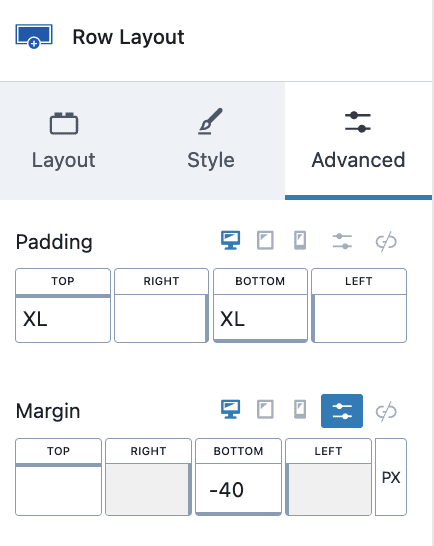
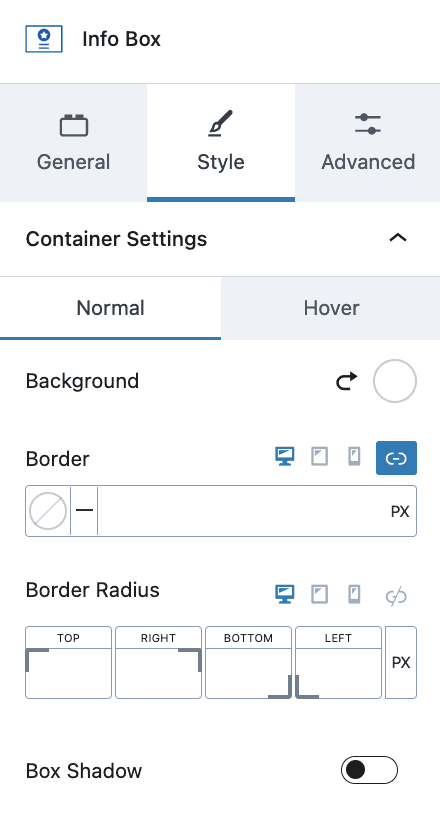
DESIGN SETTINGS: Update as required

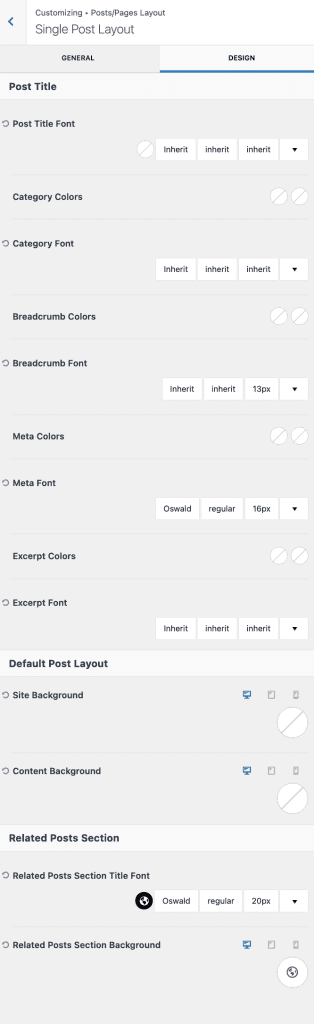
Single Post Layout
Set/Update necessary details for Single Post Layout
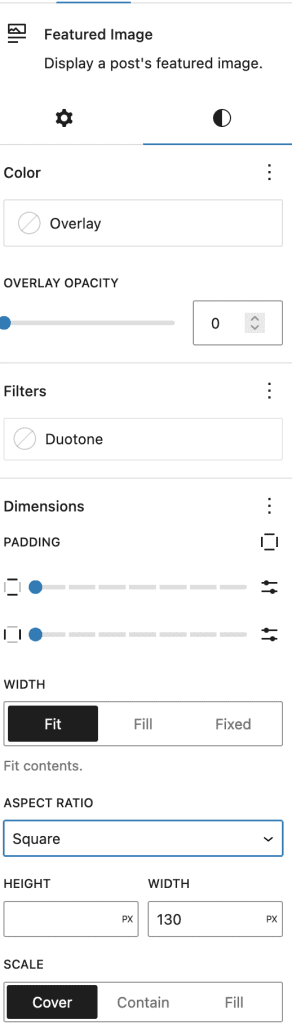
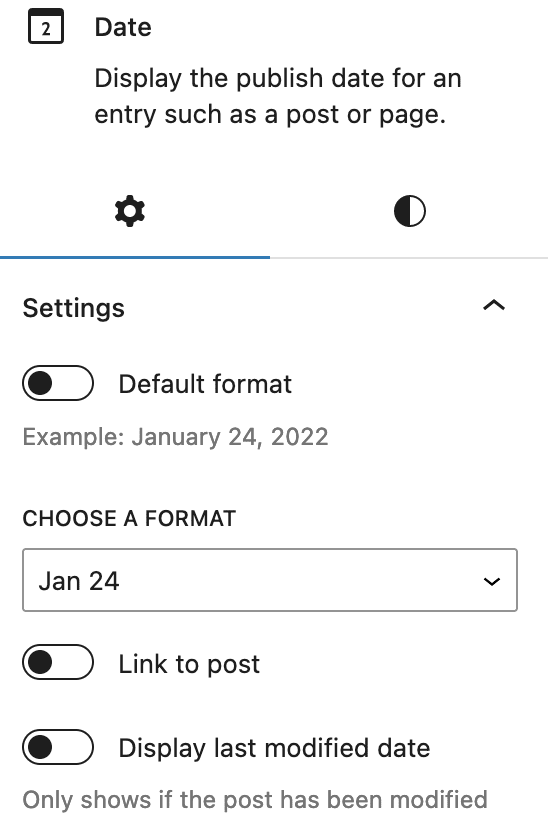
GENERAL SETTINGS: Show Post Title, Layout IN CONTENT, Show Breadcrumb, Title, and Meta (hide Categories and Excerpt), Page Layout Narrow(taking the narrow width of the theme without sidebar), Select Sidebar if Layout with Sidebar, Show Featured Image with Title, Show Post Tabs, Show Author Box, Show Post Navigation, Related posts and Comments, etc…
DESIGN SETTINGS: Update as required
To know more about settings Click Here