If you use the One-Click Theme Setup, then the demo homepage will automatically be created for you using Gutenberg editor blocks. You can learn more about Kadence Blocks by going to the plugin page.
To edit the Landing Page, go to Pages > Landing Page.
#1. Page Kadence Settings
On Top of Block Editor there are Page settings, click on that and disable the settings below to make it the Landing page without a Title, Header, and Footer.


#2. Logo Section
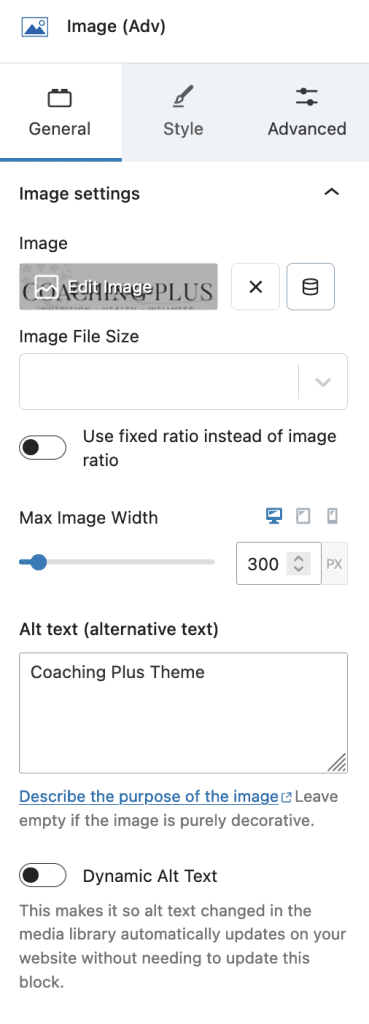
Please add your logo image with center alignment and max width of your choice

#3. Hero Section

- Row Layout with 1 Column, Full width, Max width 1100px and Padding of your


2. Add Spacer of 200px height
3. Add Text – Heading H2 with Background Color, Padding and Margin shown below


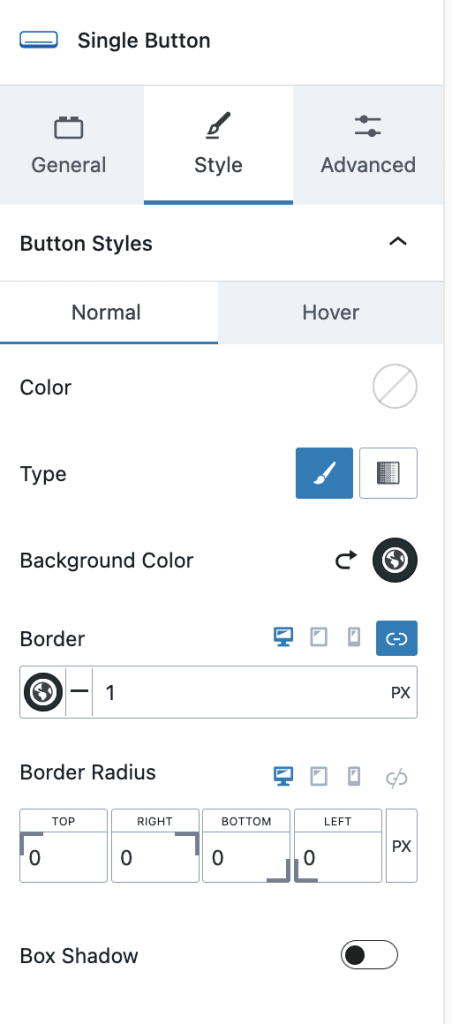
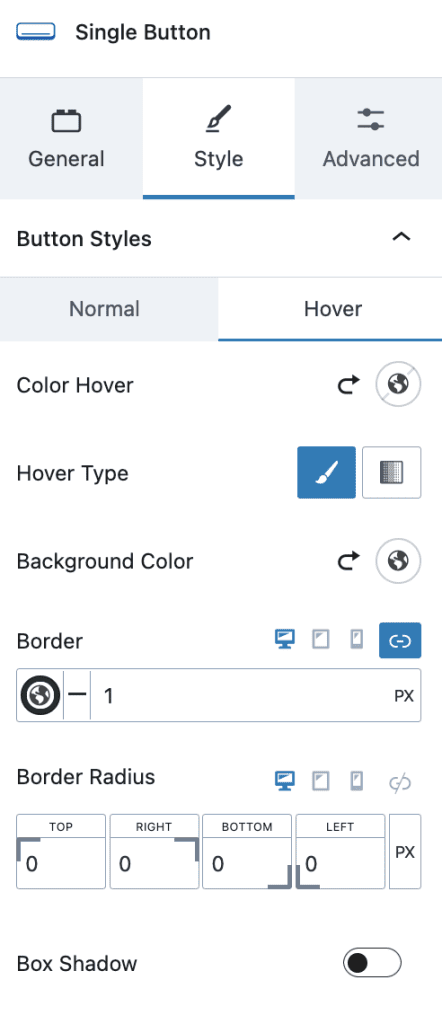
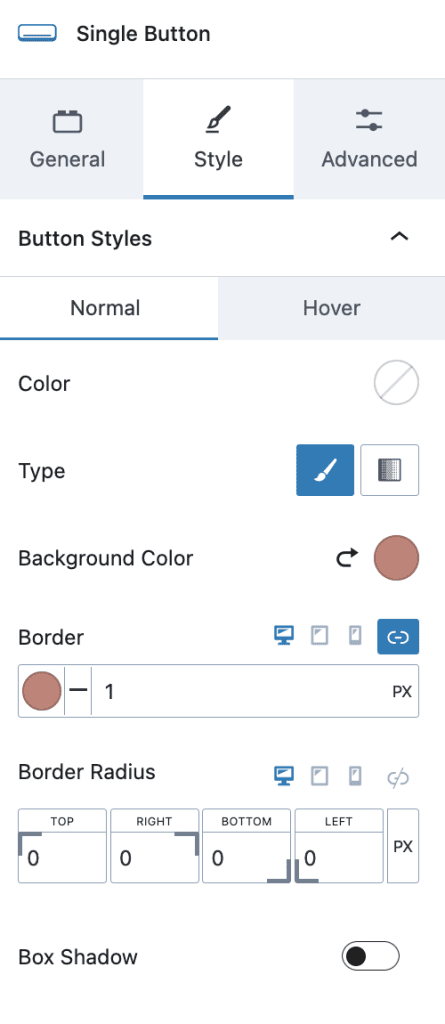
4. Add Kadence Buttons with Center Alignment – Single Button with Below settings, Padding and Margin


#4. Testimonials Section


- Row Layout with 1 Column
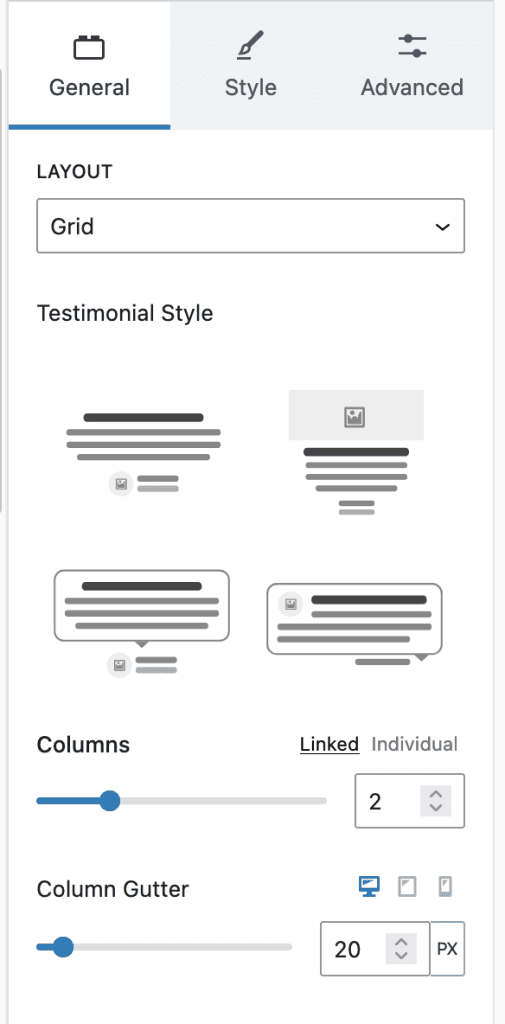
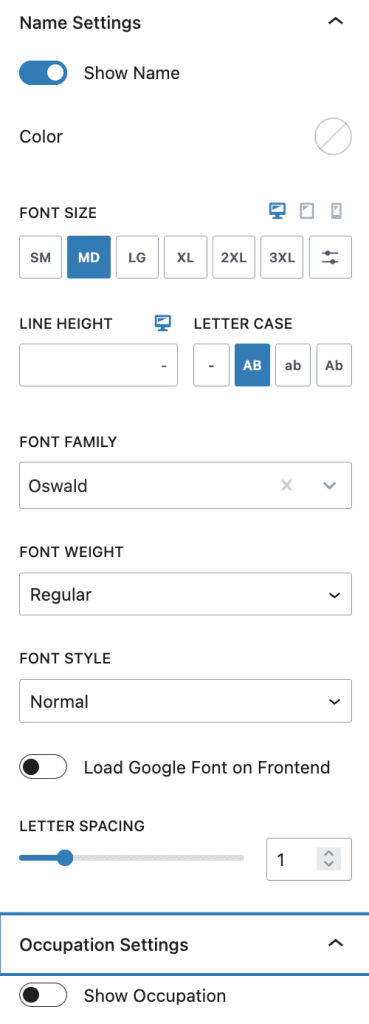
- Add Testimonials with Below Settings > Please check all settings and edit accordingly



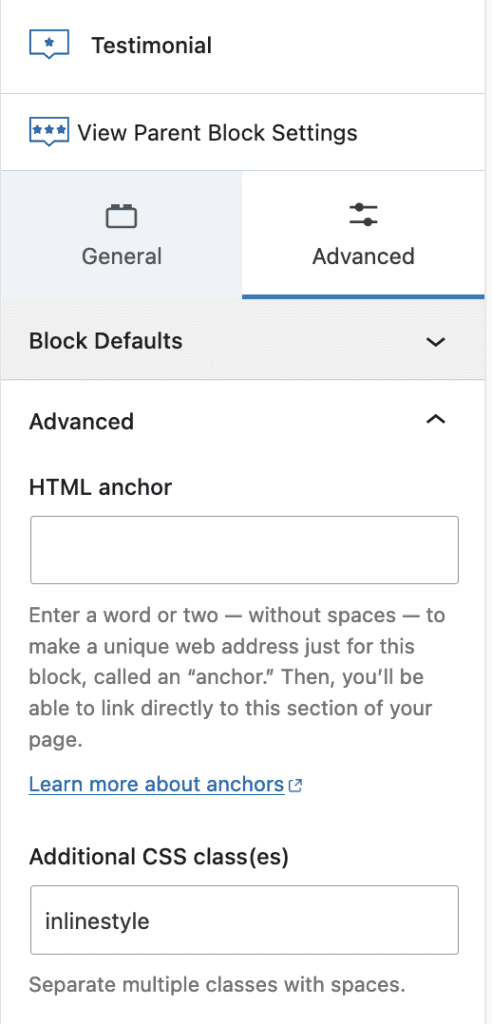
3. Individual Testimonial Setting with “inlinestyle” class to give specific style

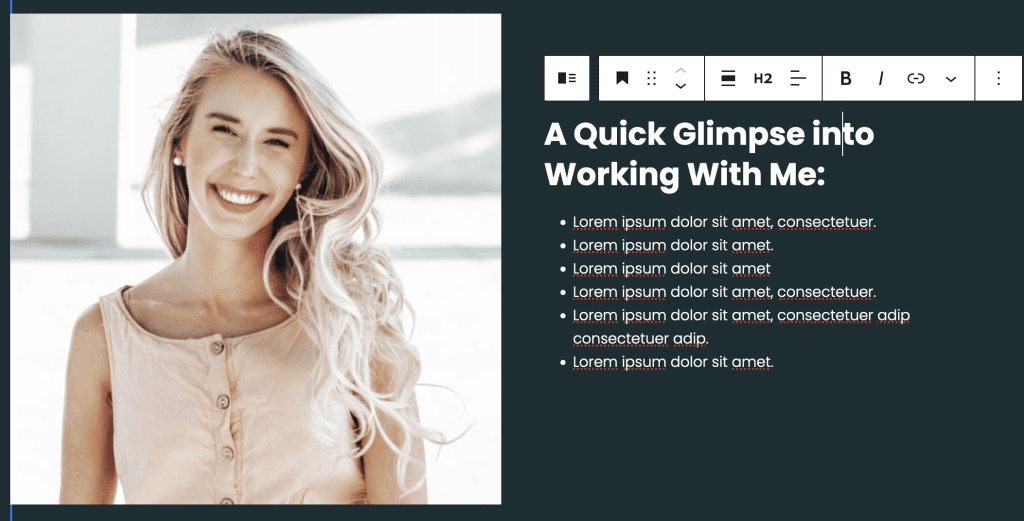
#5. Glimpse section
- Row Layout with 1 Column > Full width with max width 1100px, add Background color and overlay image and add Padding


2. Add “Media & Text” block with Media/Image on Left side and Heading H2 and List of content right side

#5. Call to Action Section

- Row Layout with 1 Column with max width 900px, Background color and padding of your choice
- Add Info box Block with content of your choice – Media None, Title, Content and Learn More Button Settings as below


#6. Program Details Section


- Row Layout with 1 Column and max width 800px and padding as required
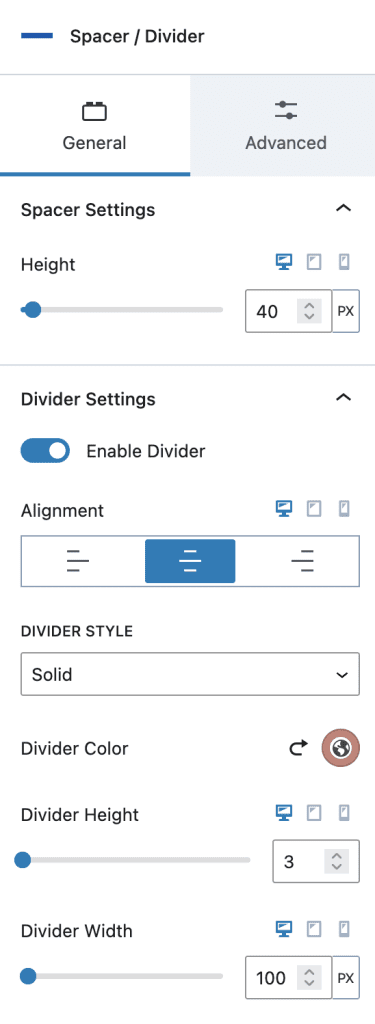
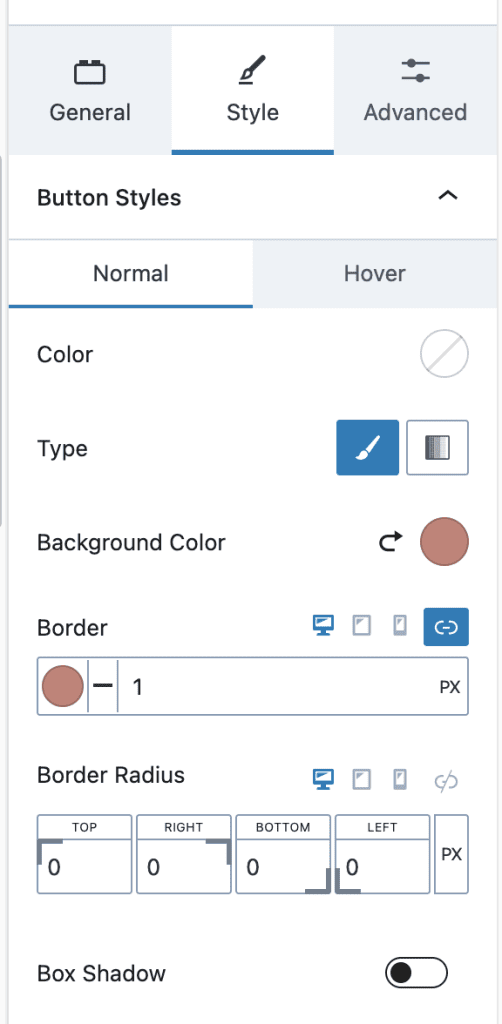
- Add Heading H2, Spacer/Divider Block, List/Group with Paragraphs and Button
#7. Work with Me section
- Row Layout with 1 Column > Full width with max width 1100px, add Background color and overlay image and add Padding


2. Add Heading H2 with your title
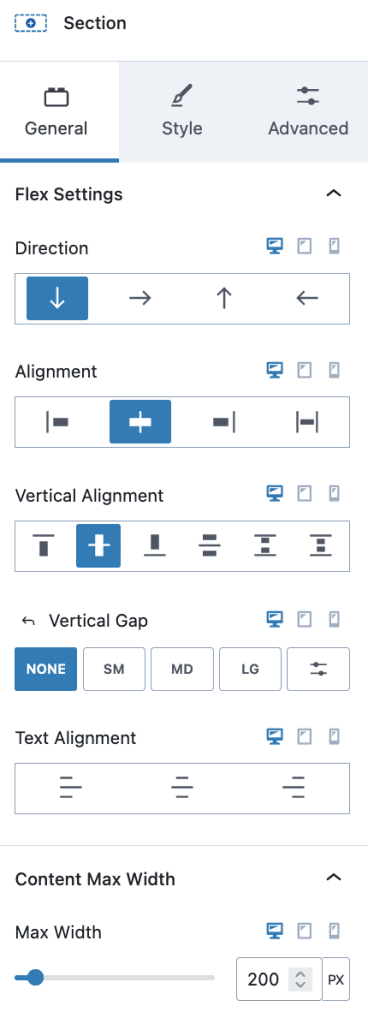
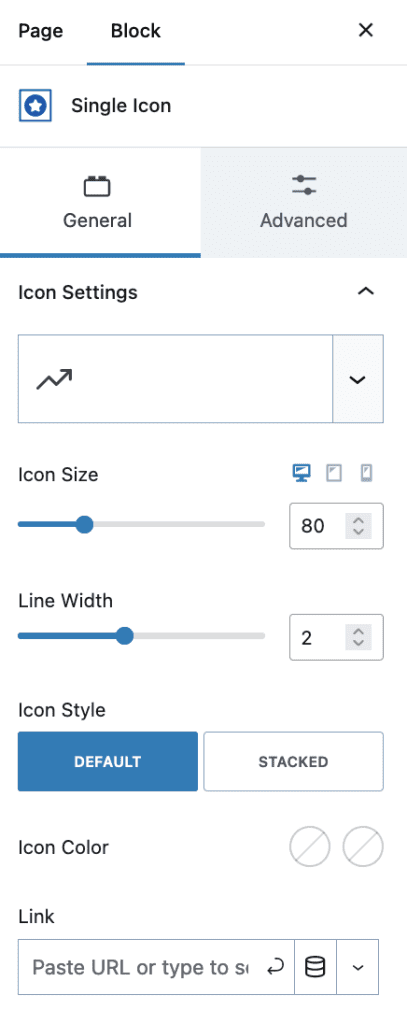
3. Row Layout with 3 Columns, Each Column Contains Section with Icon, Heading and Paragraph

1. Section with Icon


2. Heading H5 with Class “innerheading”

3. Content – Paragraph
#7. Testimonials Section with Call to Action Button
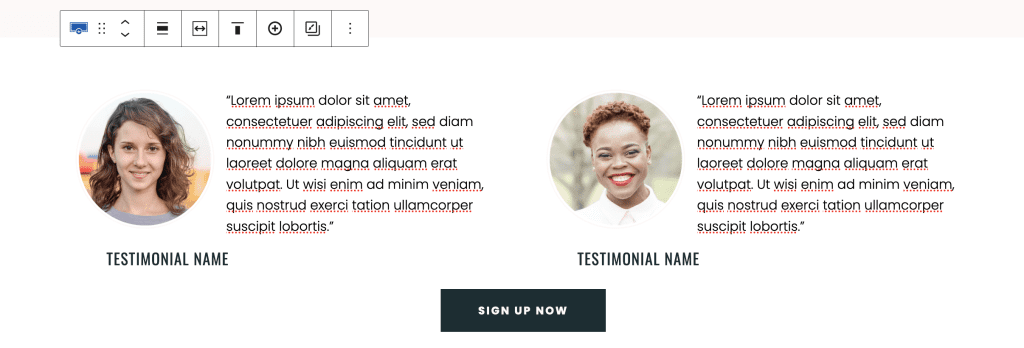

Please copy and paste the Testimonials Section built in the top section of this page and Add button with below Settings
#8. Bottom Hero Section


- Row Layout with 1 Column > Set Full width, Fixed width 1200px, Gradient Background and Padding SM


2. Another Row Layout with Two Column > Set Background and Padding


3. First Column
- Heading H2
- Call to Action “Button”

4. Second Column
- Add/Replace image of your choice
#9. Call to Action Section

- Row Layout with 1 Column with max width 900px, Background color, Border on Top and padding of your choice
- Add Info box Block with content of your choice – Media, Title, Content and Learn More Button Settings as below


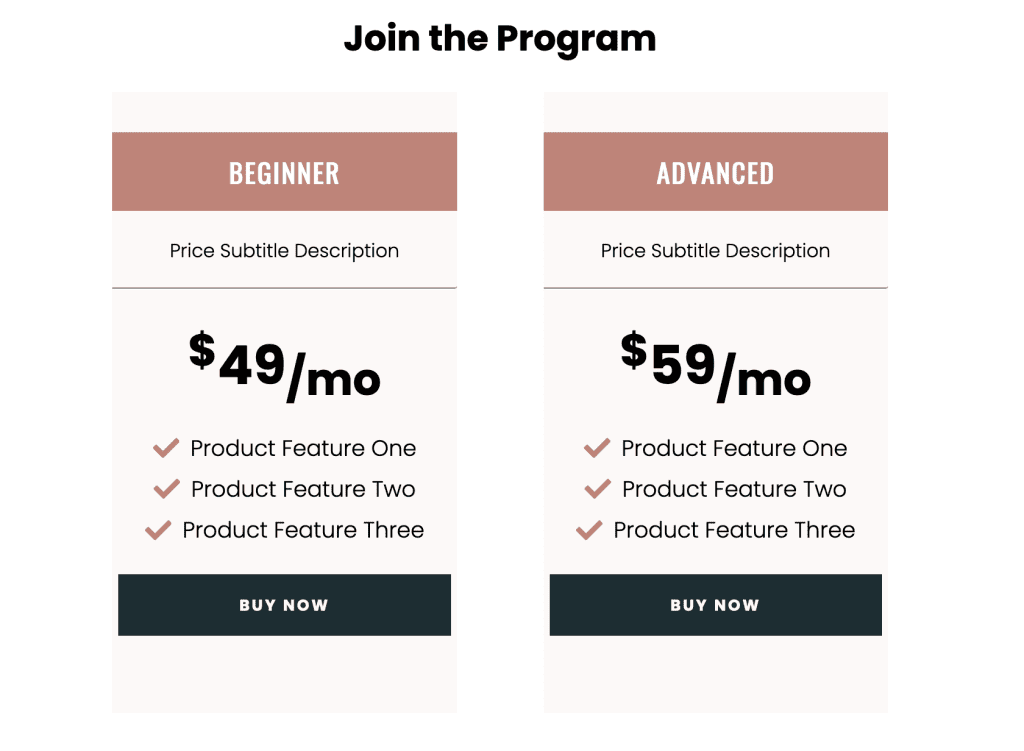
#10. Price Table Section


- Row Layout with 1 Column, Max width 700px and Padding of your choice.
- Add Heading H2
- Add Columns Block with 3 Columns, Middle Column as a spacer with 10px width
- First and Third Column with Background Color and Contain Heading H2, Text Span, Heading H2 with price, Divider, Icons List, and Call to Action Button.


1. Add Heading H2 with Align Center, Background, and Padding


2. Add Text Block Tag Span, Center Align, Border Bottom, and Padding


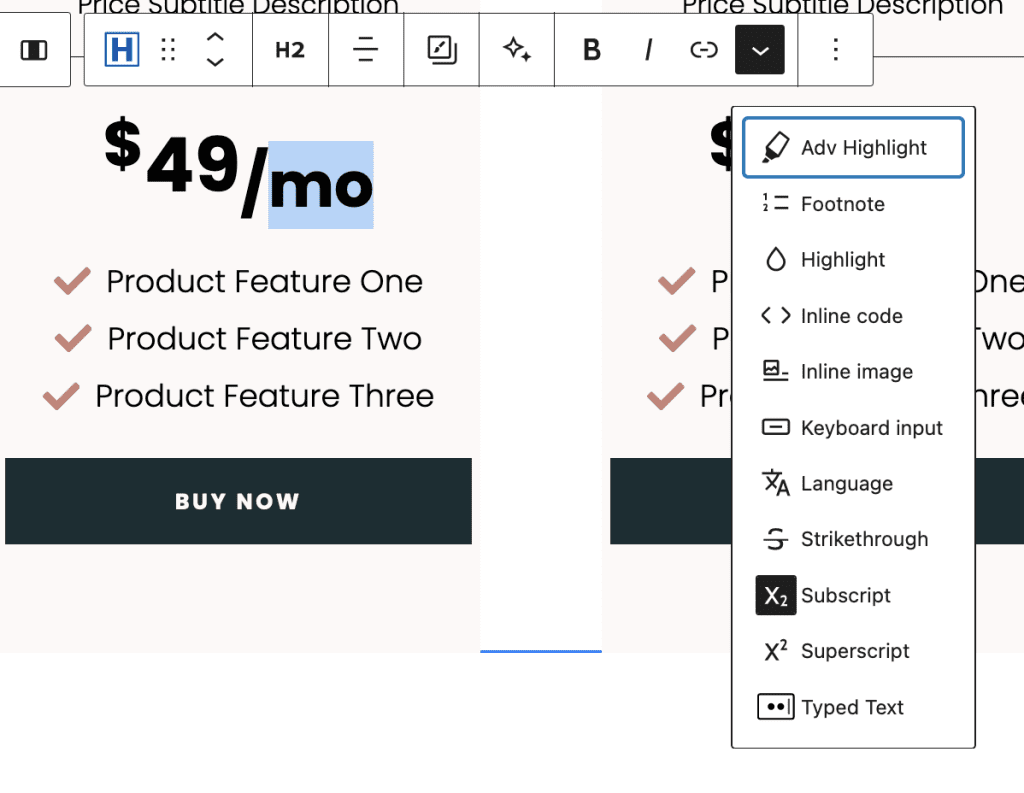
3. Add Text Block Tag H2, Text with Subscript Text, Center Align, XL Font Size and Padding


3. Add Icon List with Columns 1, Spacing, Align Center, Icon of your choice, and Padding as required


4. Add Spacer with 10px height

#11. Testimonials Section


Please copy and paste the Testimonials Section built in the top section of this page.
#12. Copyright Section

Add copyright paragraph with year, site title other texts as required.